
Auditor - Property Tax
Once your Organization has received approval to continue the application process, you will receive an email informing you of this change in status.
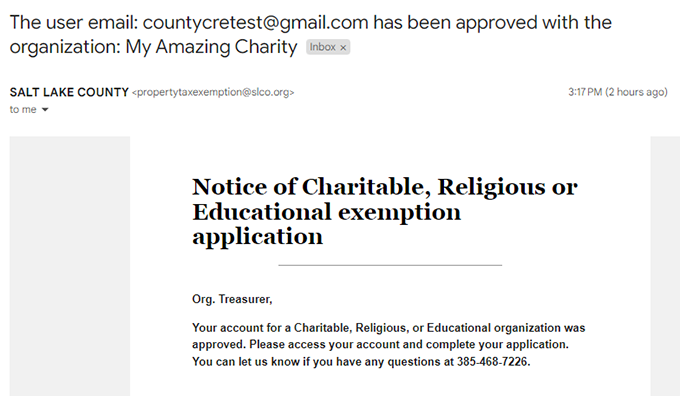
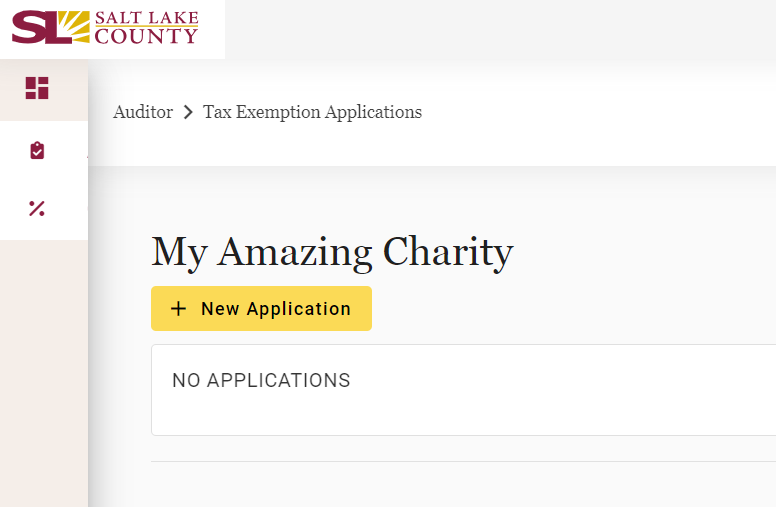
When you return to the Portal and log in, click on the CRE button in the Auditor tile to enter the CRE application. You will see that your interface now has the “New Application” button available. The status will say “NO APPLICATIONS” if you have never submitted an application before.
When you are ready to begin, click the “New Application” button. You will then see a pop-up asking you to choose which Schedule Type to begin with.
A - Real Property (a new schedule A must be completed for each Parcel)
B - Personal Property
C - Motor Vehicle
You must submit a new Application for each Schedule type, if you have that kind of asset.
There are specific types of documentation that are required for each Schedule application. Each type of documentation is associated with a letter designation. You must choose the correct letter designation in the Documentation dropdown when you are uploading that specific type of documentation.
For instance, in Real Property you must upload a current photo of the property. This is done by selecting the letter “G“ in the dropdown, and then attaching the relevant files.
You will find the full list of the document types for each Schedule listed below.
Choose the Schedule type that you would like to begin with. 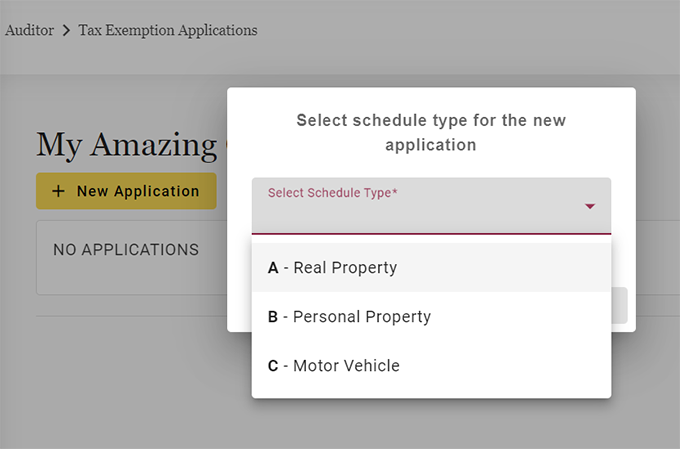
Once you have selected the Schedule type, you will see your Organization’s information listed at the top of the Application module.
Note that the Application module has several icons / tabs down the left side of the screen. You will see that some of the icons are shown as disabled. You must complete the Claim Purpose section of the module before you can fill in the additional sections.
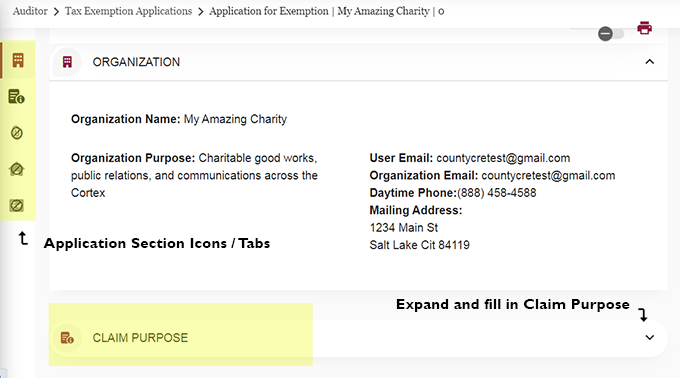
Also note that at the top right of the screen, you will see the Print icon and a gray slider button. This slider will allow you to expand or collapse all the sections at once. The arrow on the right side of the section title will allow you to expand just that section item.
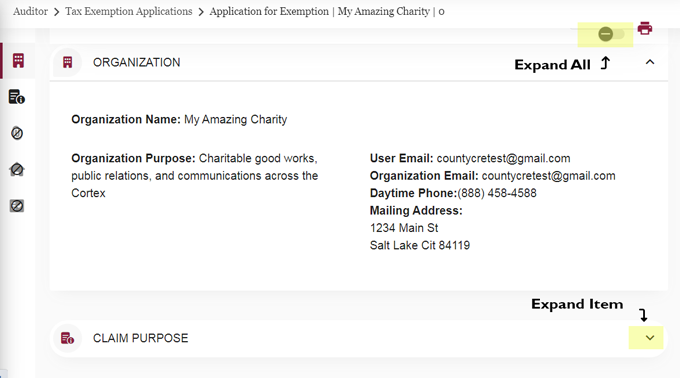
Expand the Claim Purpose section and fill it in with your Claim Purpose. This will be different than your Organization Purpose and explains the specific use of the property. You must also select which Constitutional basis that the application is made upon.
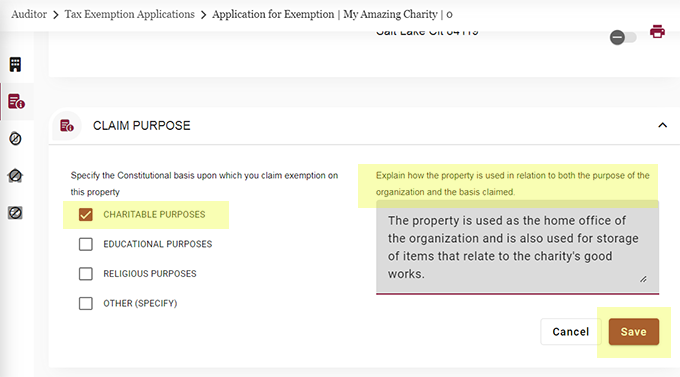
Once you have completed and saved the Claim Purpose, you can then fill in the information needed for the rest of the application.
Under the Real Property section, there are four sub-sections to fill in. Note the “Expand All” slider to the top right of the section.
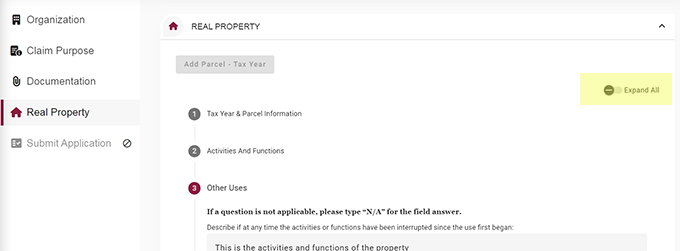
Note: In the Tax Year & Parcel Information section, if the acreage of your property is less than 1 acre, you must start your number with 0. And then enter the rest. For example - a .45 acre property must be written as 0.45
When you have completed filling in the information for your Real Property, click the “Save” button at the bottom of the Real Property section.
Then you will be able to open the Submit Application section to finalize your application.
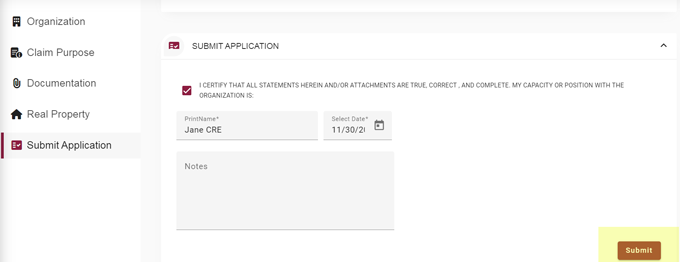
When you certify and submit your application, a popup will remind you to carefully review your application for errors or omissions.
When you click “Submit Application” on this popup, the application module will close, and your application will be sent to the Auditor’s office for review.
You will see the dashboard showing your Organization’s account, with the new application’s ID and status message. You may then add other Schedule applications to your account as needed.

If there is additional information needed to complete your applications, you will be contacted via email by the Auditor’s office. You may return to the Portal at any time to view any changes in your application’s status.
Please Note: Any requests for additional information will be conducted by official emails from the Auditor’s office or District Attorney’s office directly to the Organization representative. Copies of such correspondence will be attached to the application by the Auditor’s Office and will become part of the official application record.